For additional assistance, please contact support@metavilabs.com.
Quick Analysis Wizard
The Quick Analysis Wizard will create a new experiment for you each time you use it. To add additional replicates to an existing experiment, use the Replicate Wizard located in an Experiment Page. Refer to the advanced section of the Help Center to navigate Projects and Experiments and Replicates.
Contents
Single Well Analysis Multi-Well Analysis Setting the Image Pixel Resolution Choosing Time Lapse or Single Image Using Movie Files Uploading Movies Using Still Image Files Uploading Still Image FilesSingle Well Analysis
The Quick Analysis Wizard is the fastest way to get started with FastTrack AI. After entering minimal information, you can upload images or movies with a drag-and-drop action and processing will be scheduled to start as soon as the work queue allows. After a few minutes your report will be available on your home page.
Multi-Well Analysis
The wizard is focused on easy analysis of well time-lapse for your initial evaluation of FastTrack AI. The wizard can be used to upload one well or many wells at once and this is explained below. However, the real power of FastTrack AI are in its sophisticated reports which compare the results of many wells (no limit to the number of wells). To access the advanced features of FastTrack AI, we suggest you read the help pages under the Advanced Usage heading in the help center.
There are two steps to FastTrack AI processing:
- Analysis of the well images - is scheduled for processing as soon as the movie file is uploaded
- Report Generation - is scheduled for processing as soon as all wells have been uploaded and processed
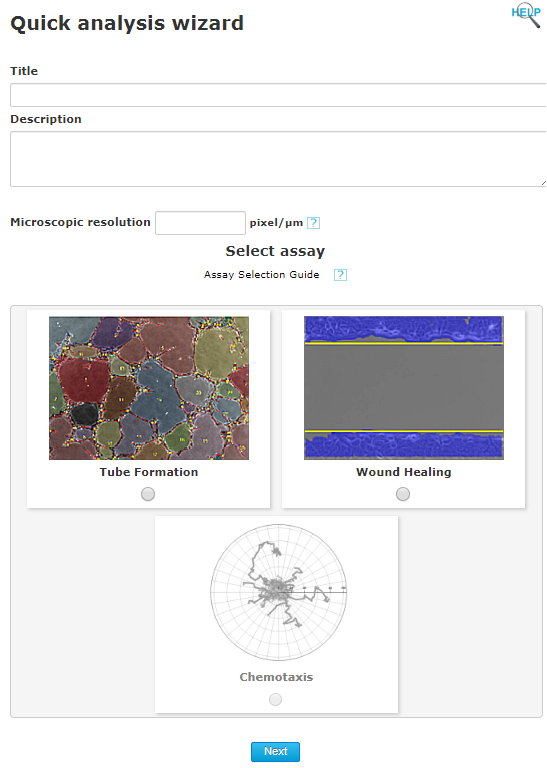
Setting the Image Pixel Resolution
The FastTrack AI only knows your images by pixels. But reports are given in units of microns for distances, areas, and speeds. In order to convert from pixels to microns, the system depends on your input of the microscopy resolution. For help calculating this critical parameter, please refer to Help Center page Microscopic Resolution.
Choosing Time Lapse or Single Image
If you choose single-image, FastTrack AI will assume you have one still image per well. So if you upload more than one image, each image will be uploaded to a new well. The real power of FastTrack AI is in its time-lapse analysis. So for most cases, you will not choose single image.
If you choose time-lapse you will be able to see the power of FastTrack AI analysis as each time point of each well is compared to the same time point in all the other wells uploaded.
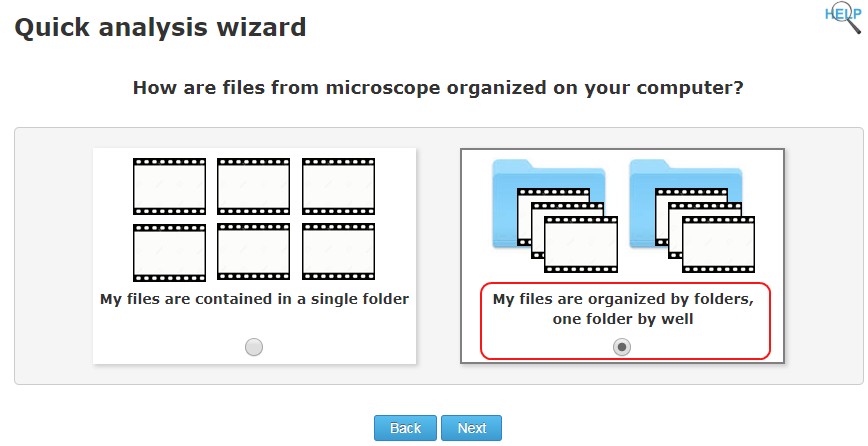
Organizing your Files
How you organize your files is critical for the wizard to determine which files belong to which wells.
Refer to the "Condition Groups" help center page for a more advanced method for combining multiple wells with the same condition.
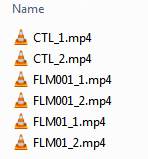
For example, suppose we want to see the chemotaxis effect of a compound known as 'FLM'. We want to see how effective it is at concentrations of 0.01 molar and 0.001 molar. We have designed our experiment with two wells of each condition including a control which has no condition. So we have six wells in the experiment. In the reports, the results for each well will be labeled as:
- CTL_1
- CTL_2
- FLM001_1
- FLM001_2
- FLM01_1
- FLM01_2
Using Movie Files
Organzing your time-lapse into movie files is the simplest way to get your files into multiple wells of FastTrack AI. If your time-lapse images for each well are composed into movies, then the Wizard will recognize that each movie should be assigned to a single well. The well will be re-named to the name of the movie file. So movie file names should be simple and brief as these will appear in the reports.
When creating movie files, be sure to choose the highest quality compression settings with maximum image resolution. FastTrack AI can handle movie files up to 2 GB each. H.264 or H.265 is the best compression. File type mp4 is generally the best, but FastTrack AI can handle any common movie type.
In some special cases, your microscopy images will be 16-bit gray-scale in tiff and may not export effectively to movie files. If this is the case, please contact MetaVi Labs as we can provide you with a custom compressor tool at no cost.
Uploading Movies
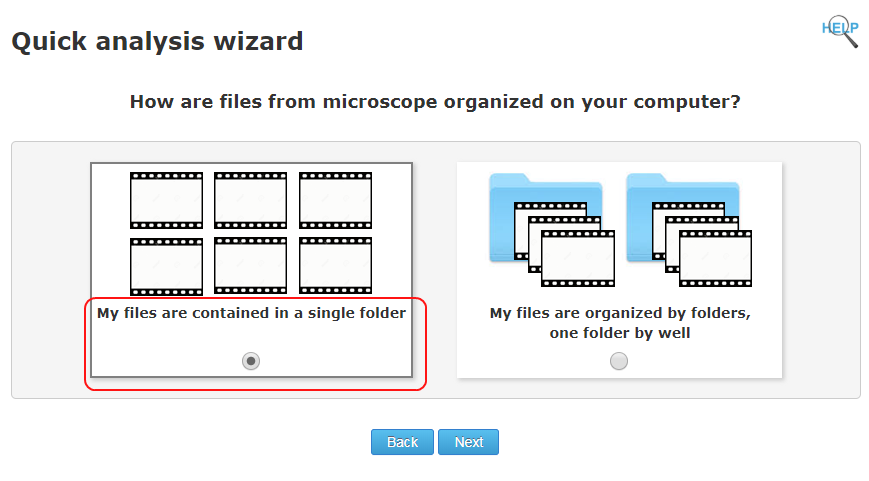
Be sure to select "My files are contained in a single folder" option on the wizard.
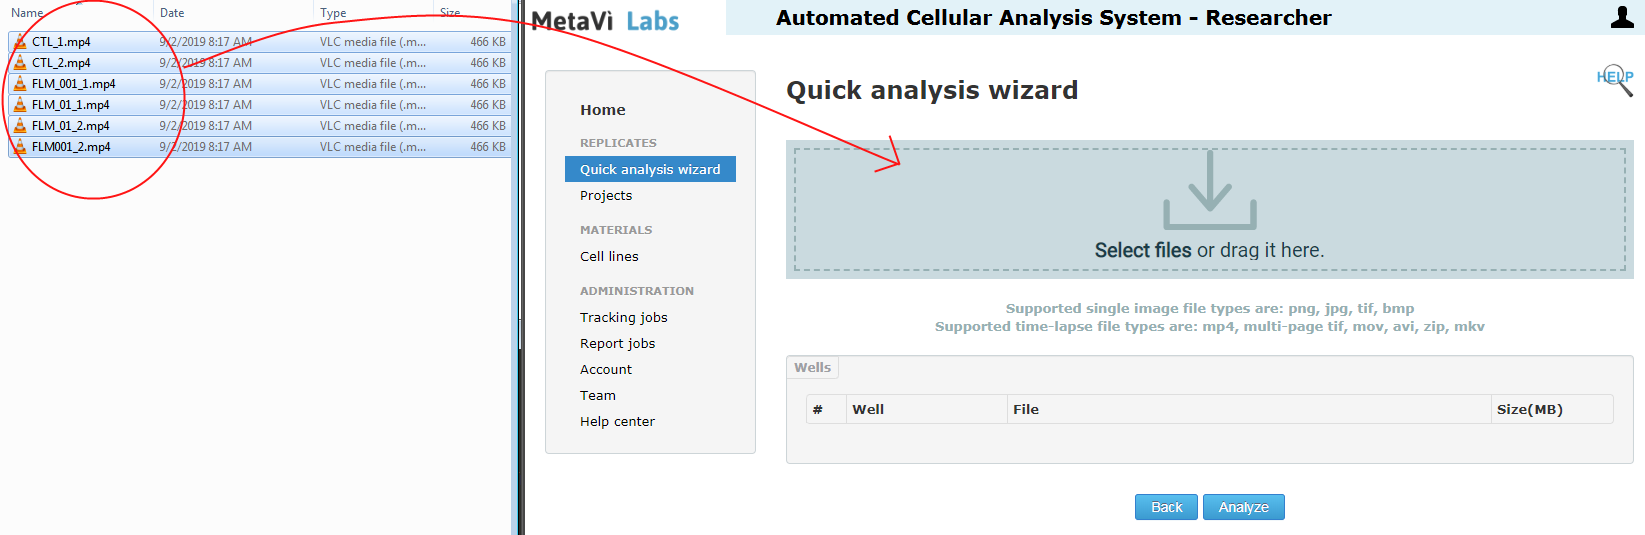
Then use the multi-select feature of your computer to select all the files at once. Then drag-and-drop them into the wizard file upload dialog. Notice the well names are taken from the movie file names.
Click the "Analyze" button when you are sure your files are uploaded correctly. If you think there was a mistake, click the back button and try again. Once you click Analyze, the analysis begins and your account jobs will be used. The system uses one of your account jobs for each well.
Using Still Image Files
In this case, you must put all your images from each well into a unique folder. Then you will multi-select all the folders to upload into the Wizard. The wizard will take the well name from each image folder.
Be sure your image files are of the highest quality such as bitmap or tif. If you compress your images into jpeg, please choose quality setting of 95% to 100%. All folders mustcontain the same number of images and all images must be exactly the same size.
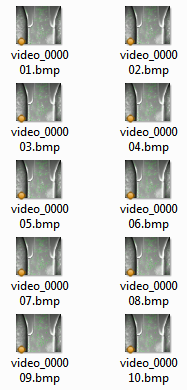
In this example, the parent folder, 'demo1', contains sub-folders for each well. Each well sub-folder contains the time-lapse images for each well. So choose the parent folder 'demo1' to upload into the wizard. Be sure the file names of the image files correspond to the time-order. That is when orgnaized alpha-numerically, the first image is the first time point and so on.
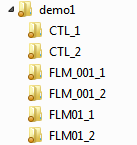
Sample images on the CTL_1 folder.
Uploading Still Image Files
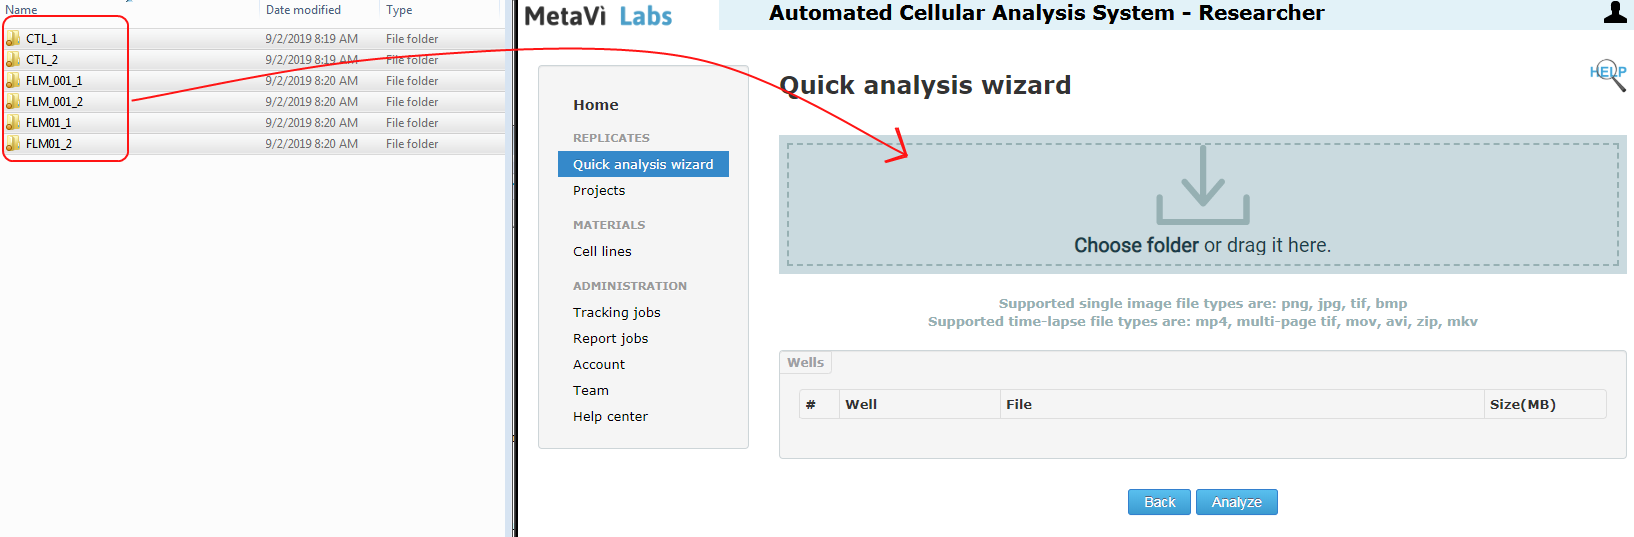
Be sure to select "My files are organized by folders, one foler by well" option on the wizard.
Now each of your folder contains the single frame images (jpg, bmp, or tif) for the time-lapse. Use the multi-select feature of your computer to select all the folders at once. Then drag-and-drop them into the wizard file upload dialog. Notice the well names are taken from the movie file names.
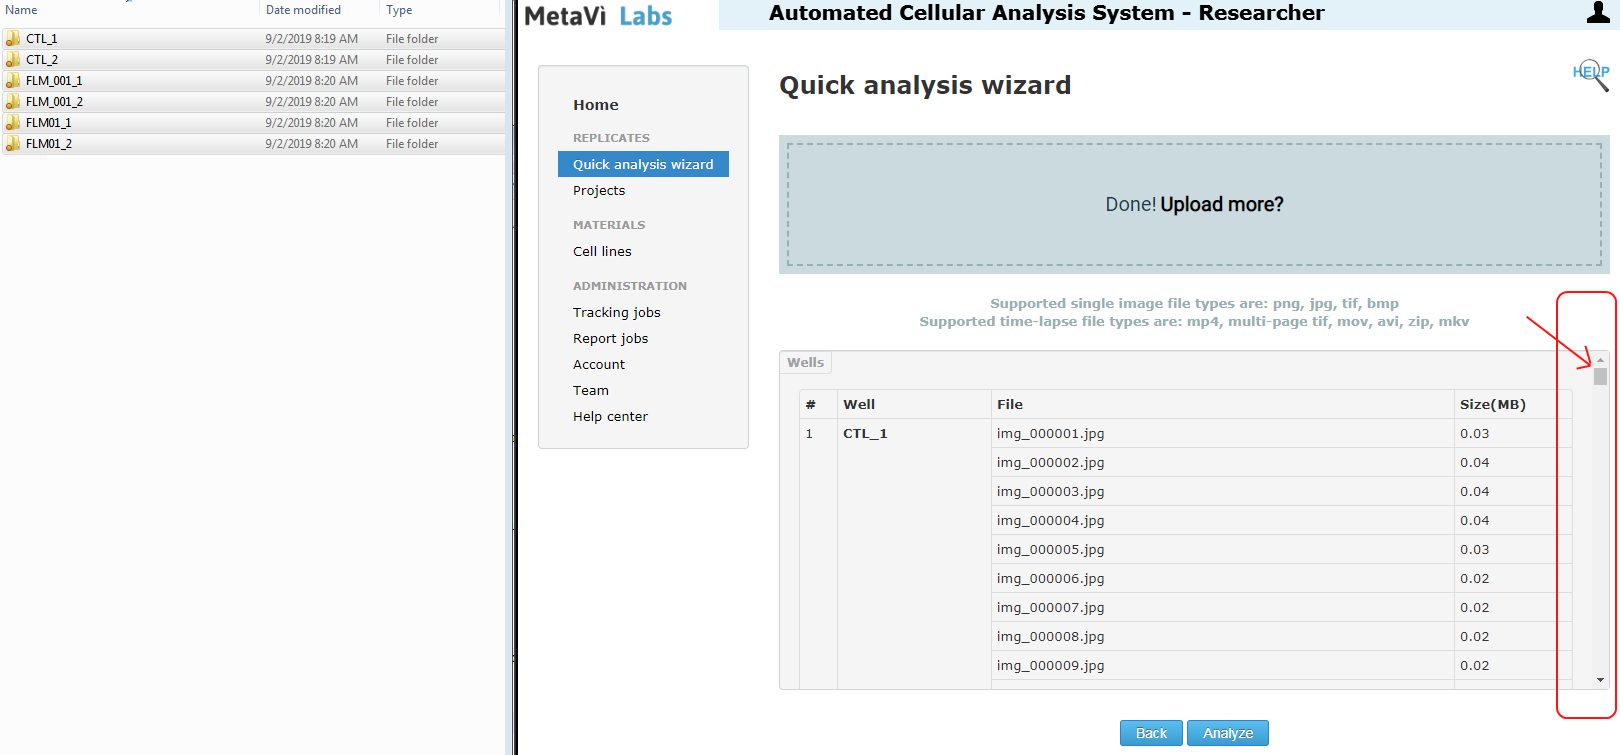
Note there is a scroll slider control on the right to you can check all your files and well assignments.
Click the "Analyze" button when you are sure your files are uploaded correctly. If you think there was a mistake, click the back button and try again. Once you click Analyze, the analysis begins and your account jobs will be used. The system uses one of your account jobs for each well.